
Blender 5.0 Quickstart Guide: Hotkeys & Workflow
Your essential cheatsheet for the new Blender 5.0 interface. Master navigation, essential hotkeys, and the new modeling tools instantly.
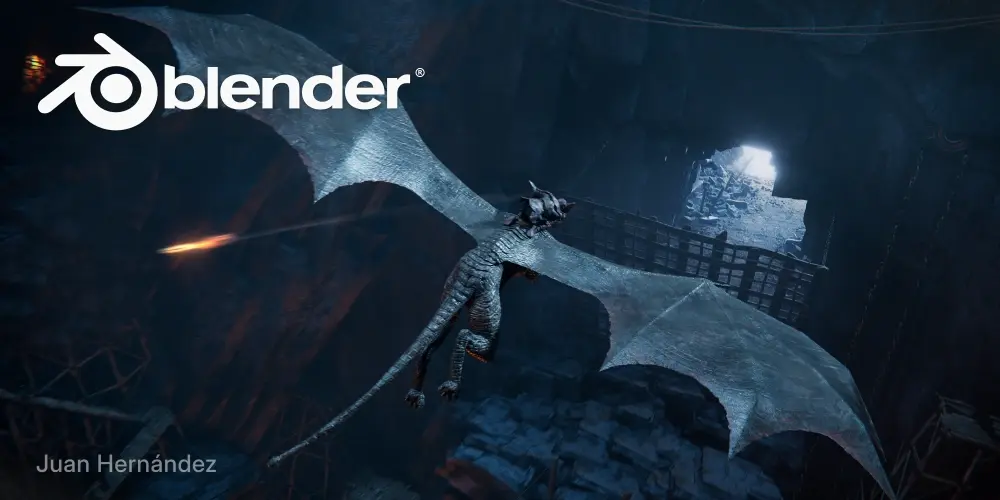
# Welcome to Blender 5.0
The new version of Blender brings significant changes to the UI and geometry nodes performance. Here is your survival guide to get up to speed in under 10 minutes.
If you are coming from Maya or Unity, you can switch to the "Industry Compatible" keymap, but we recommend learning the native Blender way for maximum speed.
- Orbit: Middle Mouse Button (MMB)
- Pan: Shift + MMB
- Zoom: Scroll Wheel or Ctrl + MMB
# The Essential Hotkeys
Memorize these. You will use them every 5 seconds.
| Action | Hotkey | Pro Tip |
| :--- | :--- | :--- |
| Select | Left Click | Use 'Box Select' (B) or 'Circle Select' (C) for groups. |
| Move | G | Press X, Y, or Z after G to lock to an axis. |
| Rotate | R | Press R twice to "Trackball Rotate". |
| Scale | S | Hold Shift for precise scaling. |
| Extrude | E | The bread and butter of modeling. |
| Inset | I | Creates a face inside a face. |
| Bevel | Ctrl + B | Scroll wheel to add segments. |
| Loop Cut | Ctrl + R | Scroll to add multiple cuts. |
| Search | F3 (or Space) | Can't find a tool? Just search for it. |
# Modeling Workflow Tips
- 1. Non-Destructive Modeling*
Always use Modifiers when possible. Specifically the Boolean and Bevel modifiers. This allows you to change the shape later without having to redo the topology.
- 2. The 3-Point Lighting Setup*
In Blender 5.0, EEVEE Next handles lighting much better. Create a simple setup:
- Key Light: Strongest light, 45 degrees to the side.
- Fill Light: Softer, opposite side, blueish tint.
- Rim Light: Behind the object, very bright, creates a silhouette.
- 3. Auto-Smooth Changes*
"Auto Smooth" is now a modifier! Look for the "Smooth by Angle" modifier in the stack instead of the object data properties.
# Common Pitfalls
- Scale isn't applied: If your bevels look weird, press Ctrl + A -> Scale.
- Normals are flipped: If shading looks black, press Alt + N -> Recalculate Outside.
- Clipping View: If you can't see close objects, press N, go to View, and set Clip Start to 0.01m.
Blender Guide Hotkeys
Related courses


